


The unfortunate story of a DIY watch kit
Borna BošnjakEver fancied making your own watch, with specifications exactly as you’d want them? I certainly have. If so, this DIY watch kit is not what you’re after. Thankfully, I went in with no expectations whatsoever, yet came out of the process highly amused, if somewhat disappointed. For a bit of background information, I’ve delved with watch tinkering on a very basic level – regulating them with the help of a timegrapher and some minimal cleaning and replacing of worn parts. I didn’t expect this to be too technically challenging, which was a good prediction, though it never prepared me for the mental gymnastics required to put this together.
The unboxing experience

It started off well, with two neatly packaged boxes. The smaller of the two contained all the components of the watch, each contained further in smaller cardboard boxes. The larger box, however, is where it already starts to unravel. With no clear latch or mechanism to open it, I realised that the lid is kept shut by a fairly strong magnet. Yes, ladies and gentlemen, a magnet centimetres away from the delicate mechanical movement sitting in the other box. Remembering the story on iPhone magnets affecting the accuracy of watches, this worried me greatly.
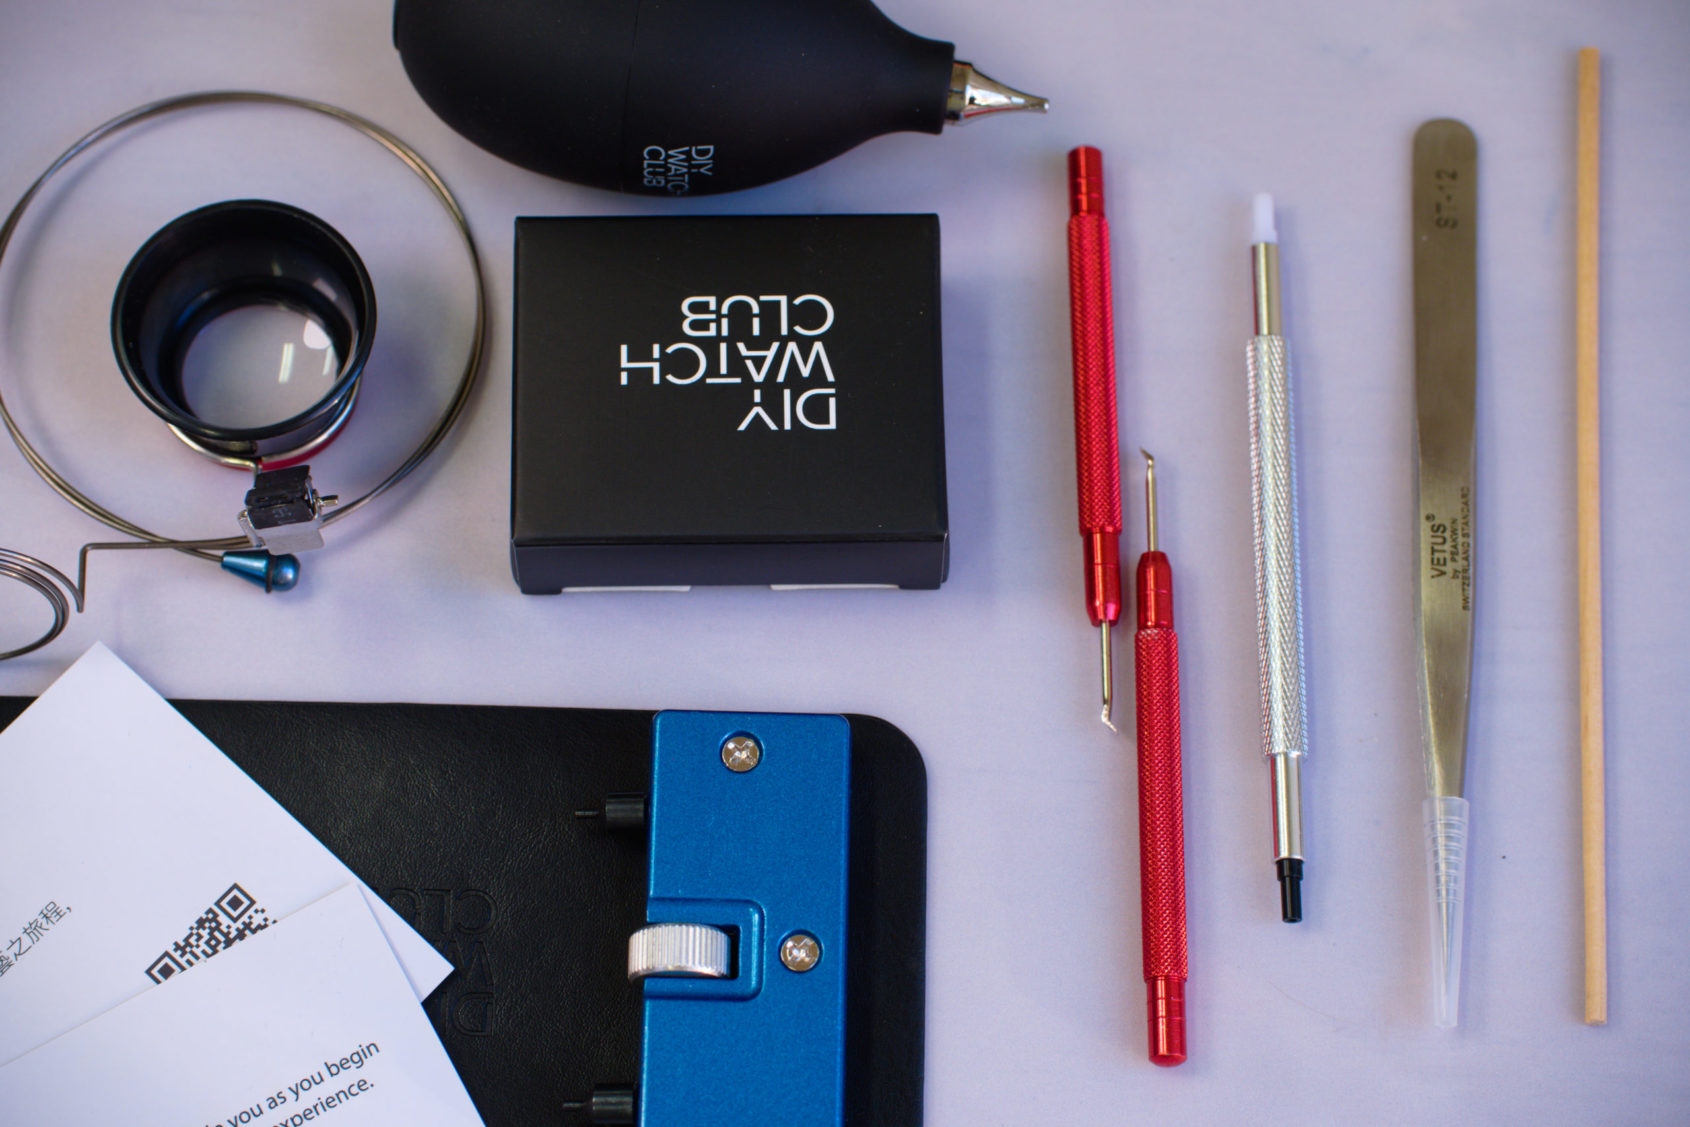
Taking a closer look at the tools that were included, we’ve got all the classics, with one notable omission. There’s no screwdriver to be seen. Having experienced the importance of a high-quality screwdriver after some particularly bad stripping issues (still talking watchmaking here, calm down), this was a surprise. A few more tidbits hid in the cardboard box, namely a smushed thing of Rodico-like stuff and finger cots, some of which were conveniently pre-torn. The missing screwdriver was foreshadowing what’s to come, which was confirmed once I removed the watch components from the smaller box.
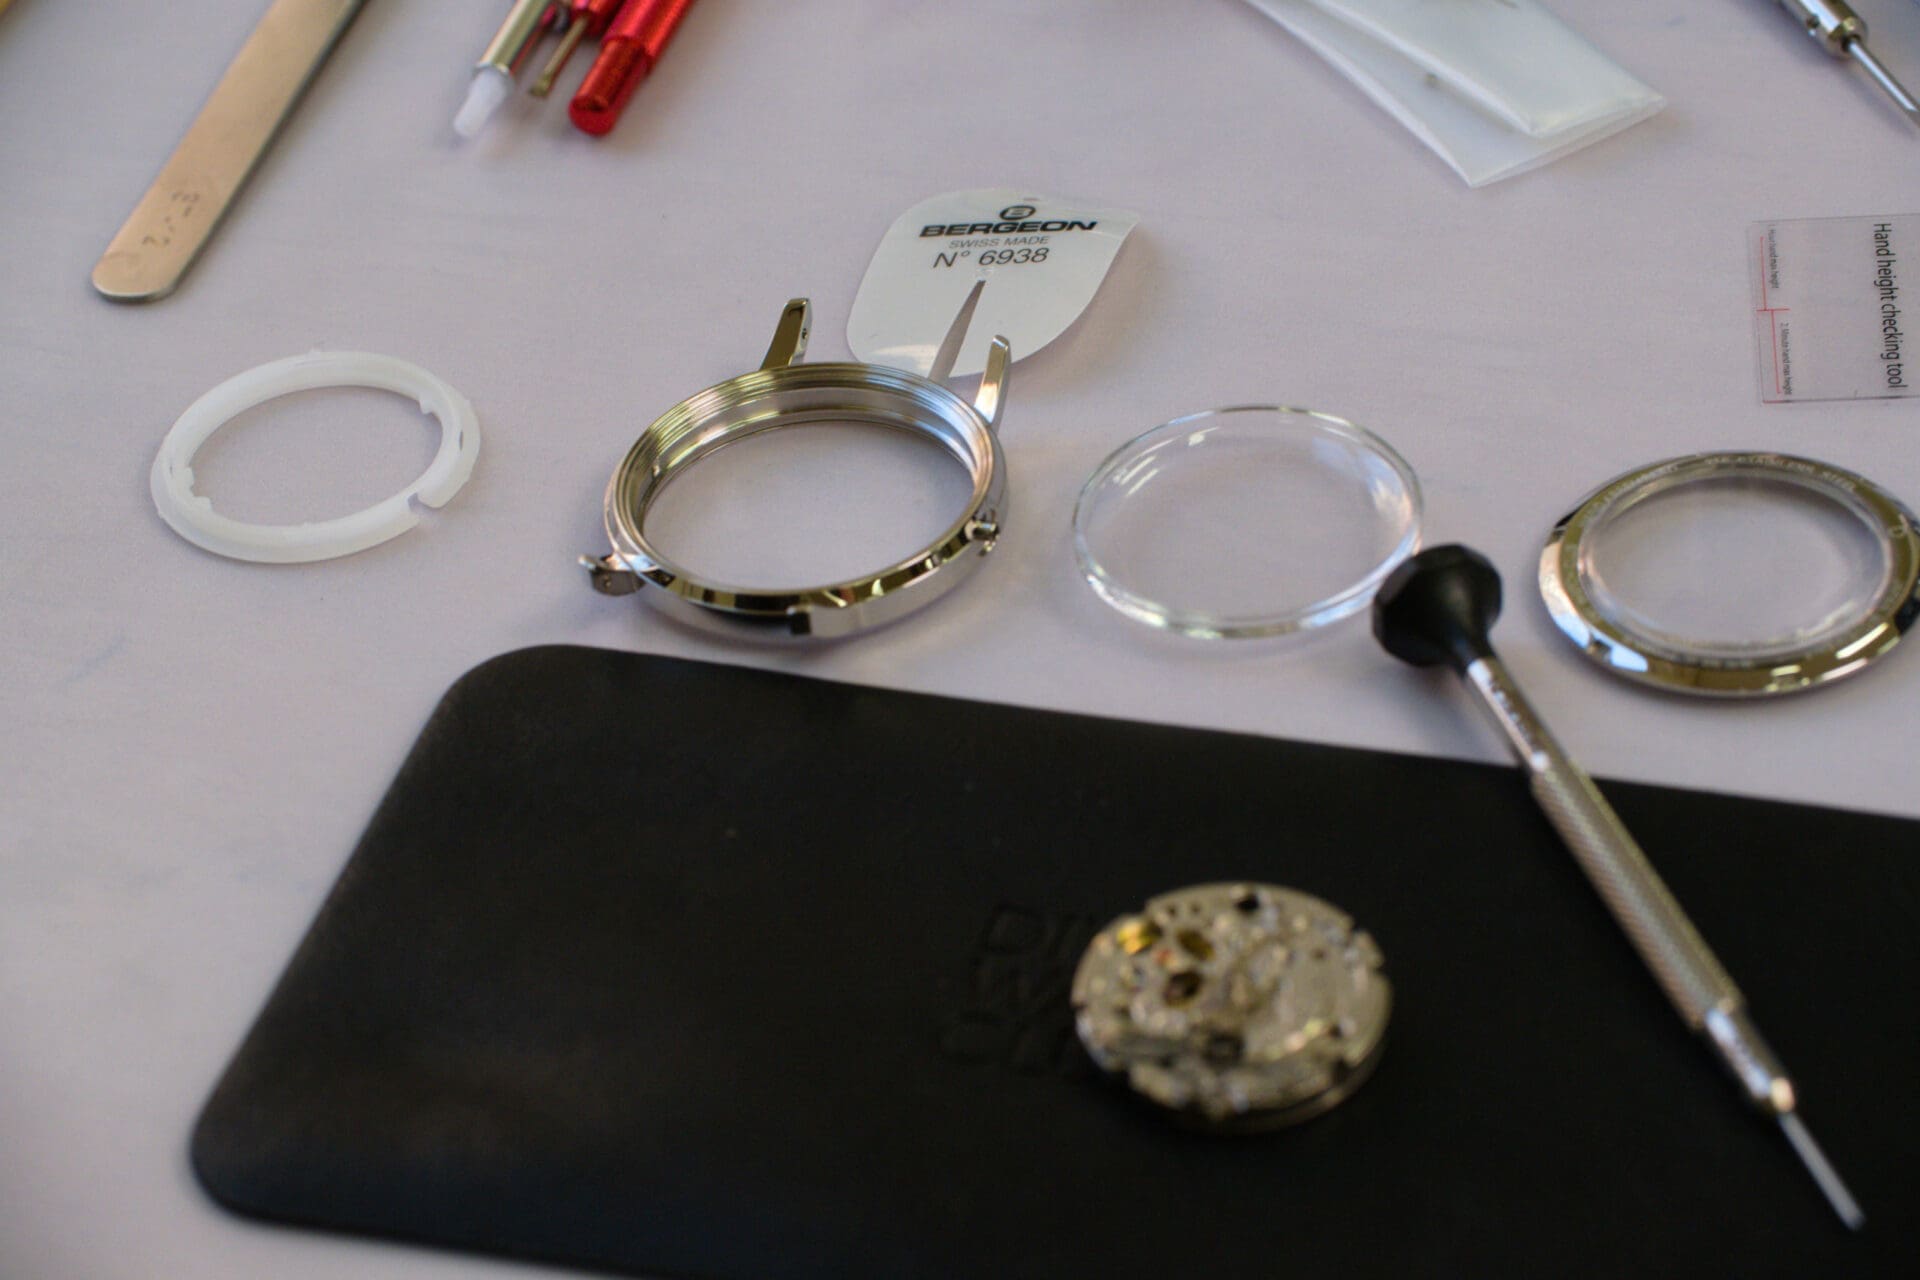
A plastic movement holder popped right out, along with a very simple 38mm stainless-steel case, with screw-down caseback and plastic crystal. As I was removing the protective plastic, however, the crystal immediately popped off. With no crystal press, I wasn’t sure how I’ll get it re-fitted, but I decided crossing that bridge was a future-me problem. With all the tools and parts laid out, it was time to roll up the finger cots and get to work.
Putting the bloody thing together
Since this was a beginner kit, it came with some handy instructions that you could access by scanning a QR code. You’re required to provide personal information such as your email to access the video instructions, which I’m not really a fan of. Granted, the instructions are thorough and simple to follow, but I thought it’d be more fun going in raw. With no screws and a plastic movement holder, this should be a walk in the park, right?
Well… kind of. I wanted to install the crystal so the case is ready before moving on to the movement and handsetting. Faced with the bridge I left for myself to cross, I realised that I won’t be fitting a crystal today. It seems that the crystal did come pre-installed, but simply detached itself while the kit was sitting in our office, as I could not get it sitting tight, and not for lack of trying.
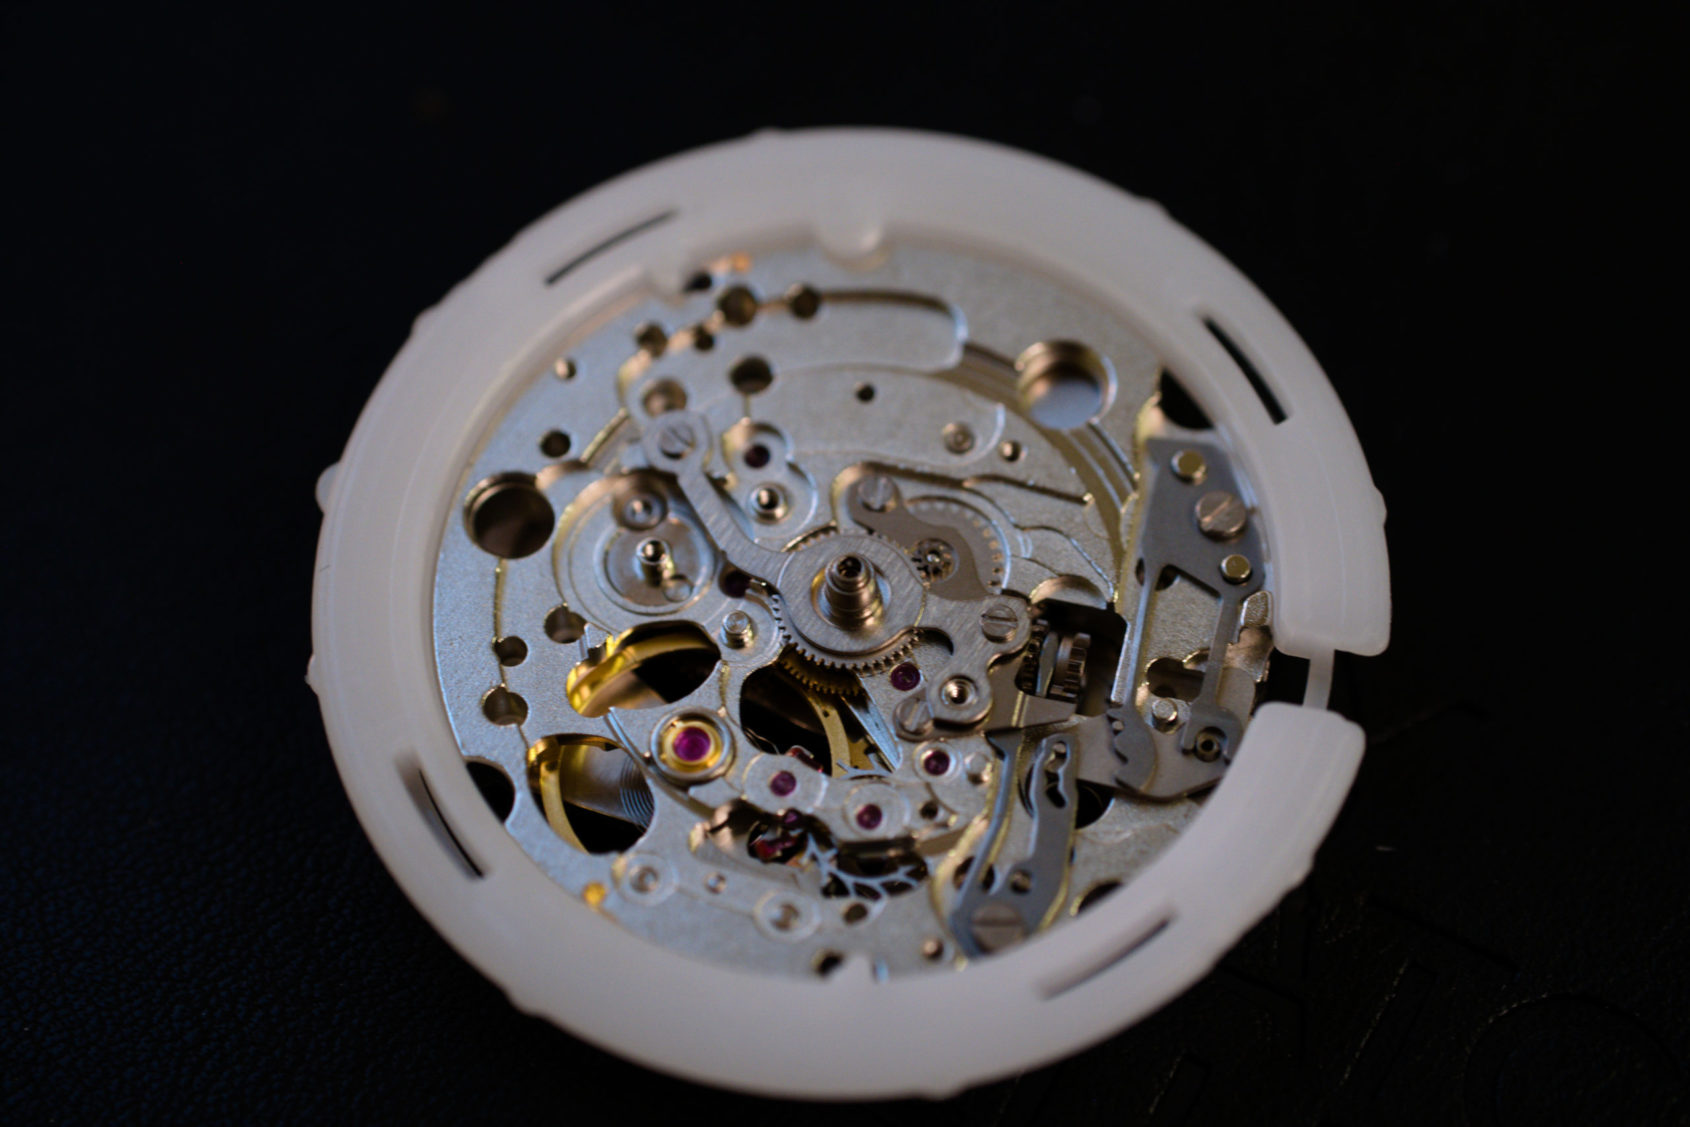
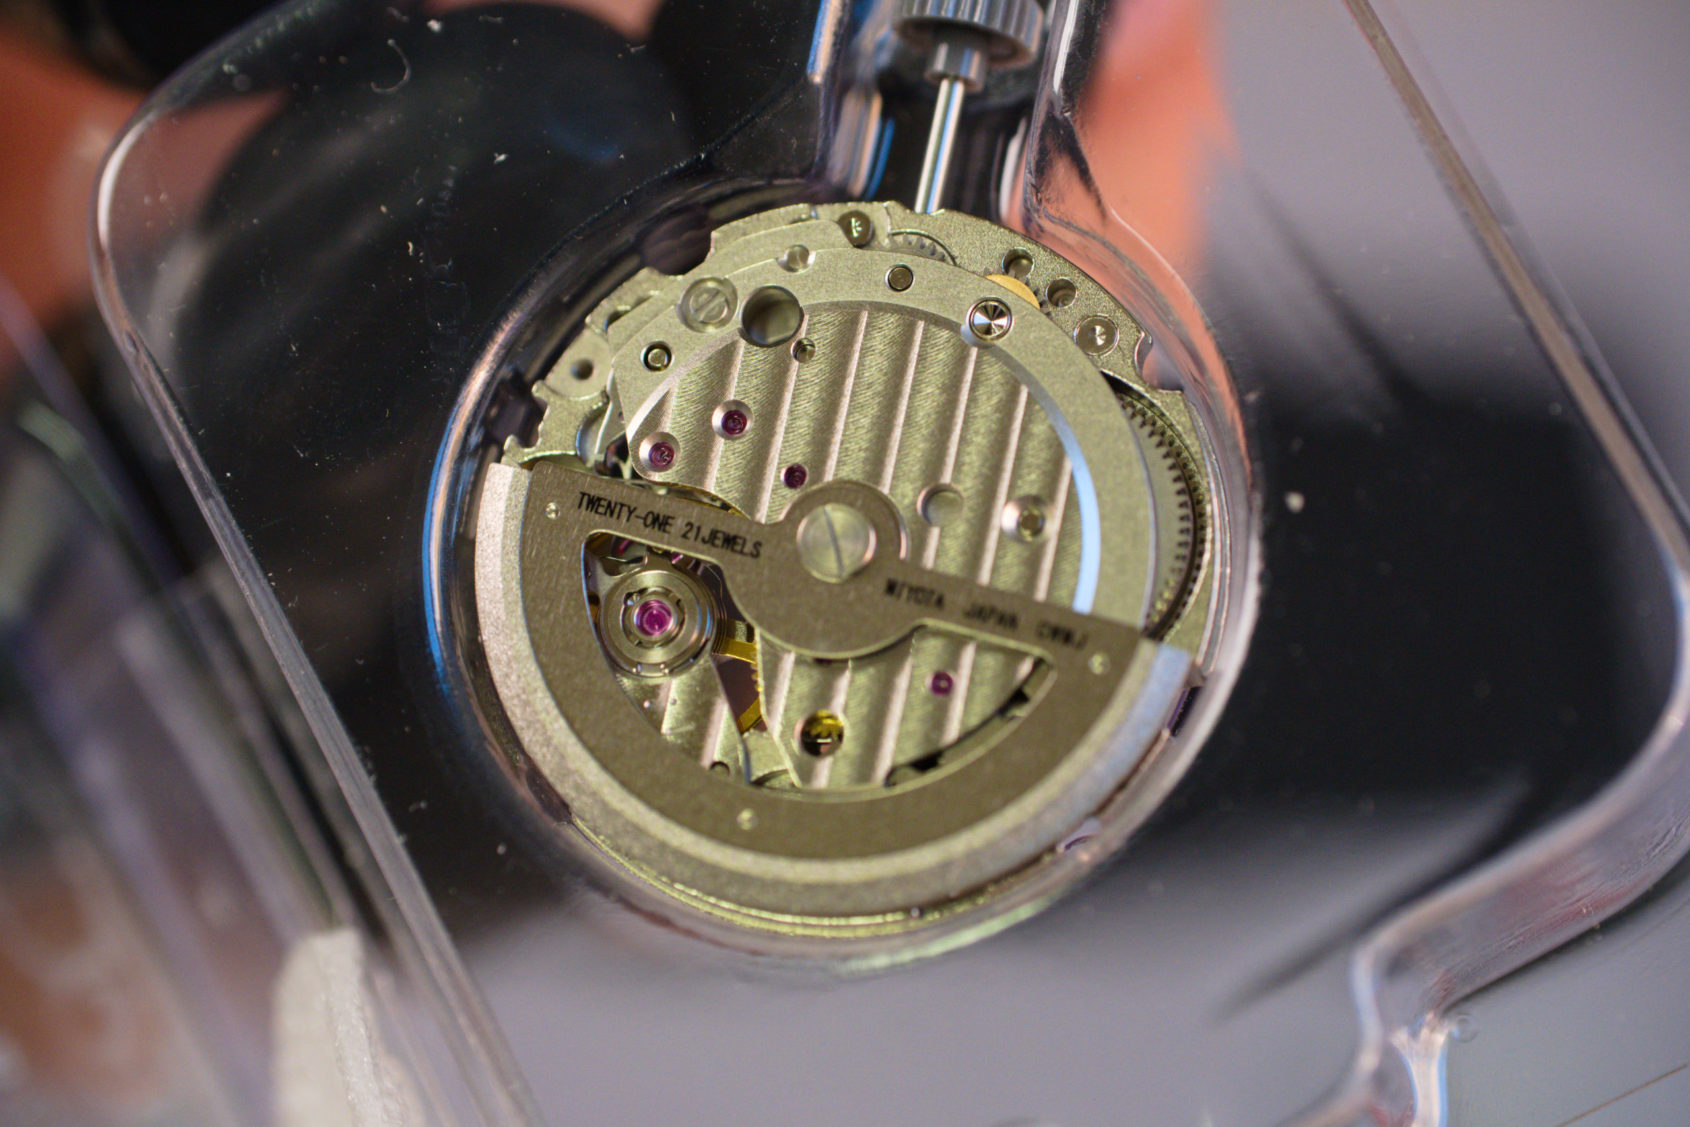
The Miyota 8S20 comes well-packaged and with some minimal striping decoration. It’s a sensible choice for a first DIY attempt due to its simplicity. I moved on to installing the plastic movement holder, which required removing the stem first. By pushing on a button nearby, it slid out with no issues. The kit provided a replacement engraved crown and stem which was already cut to size, my experience with modding SKXs to fit NH36 movements taught me to be thankful for that. It took more fiddling than I thought would be necessary, but eventually, I got the movement in place.
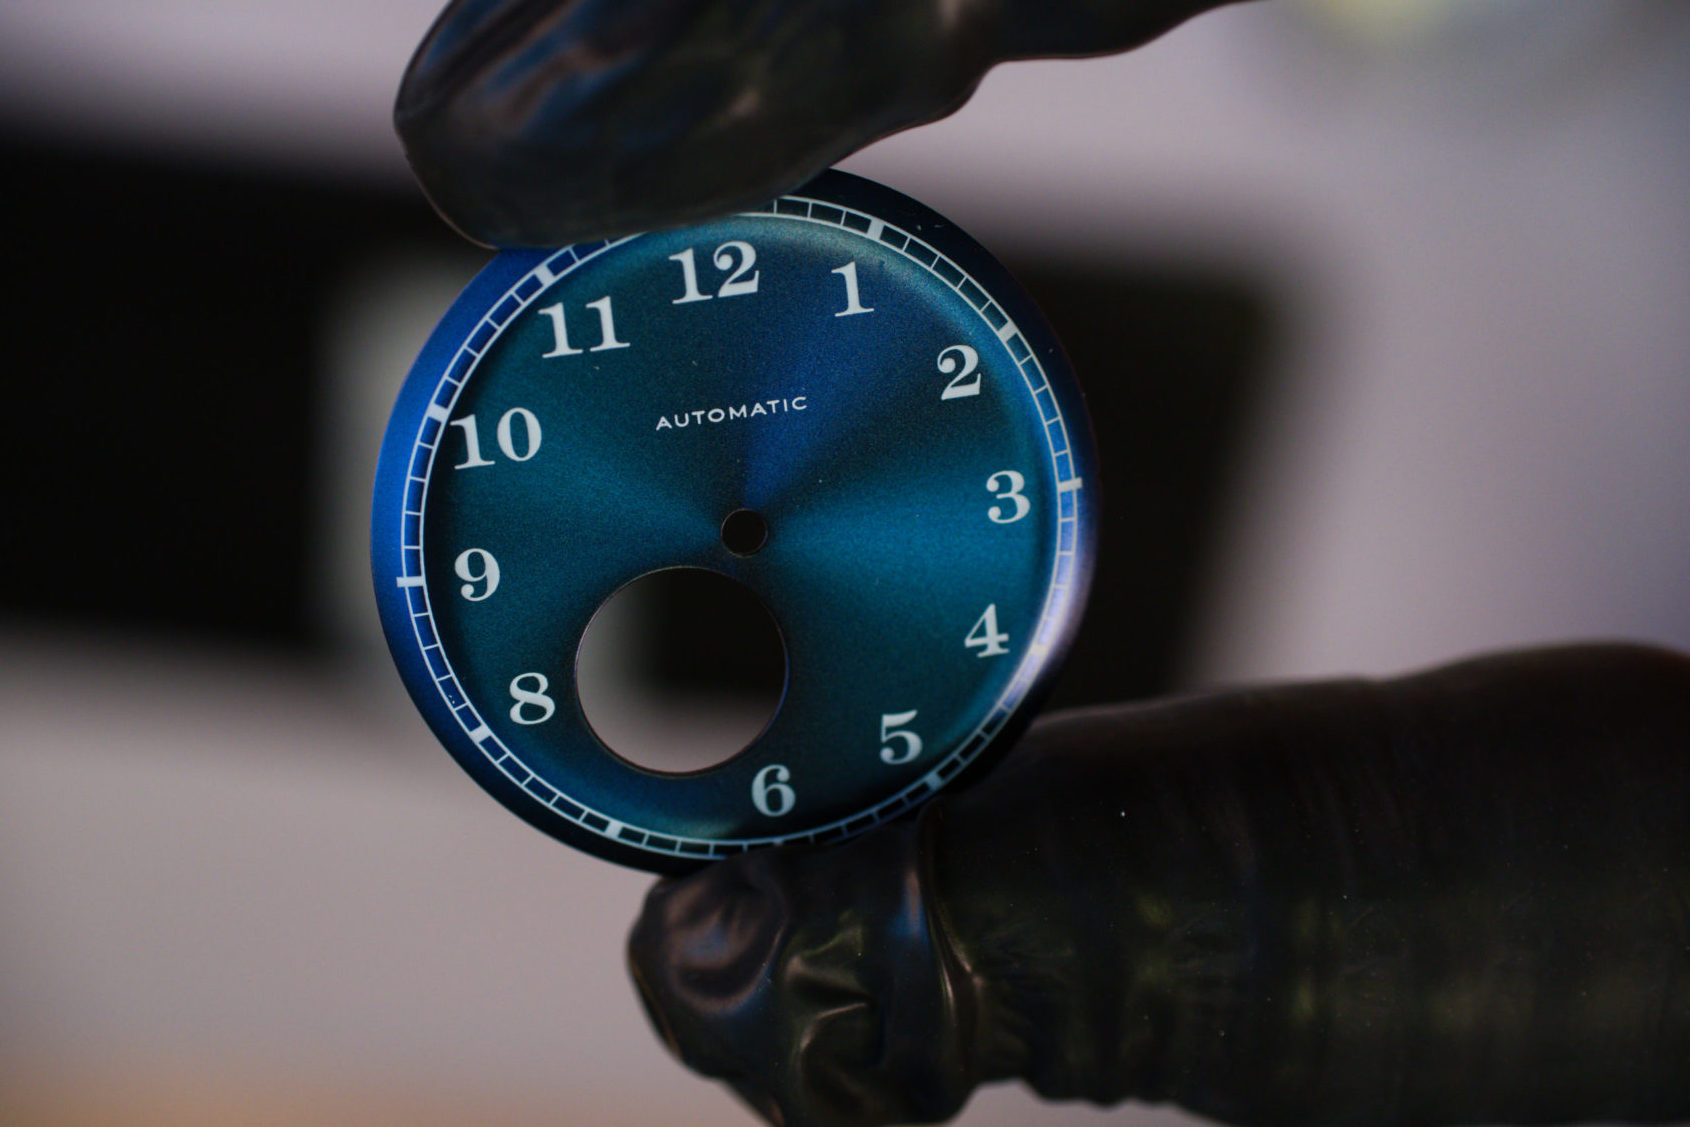
Moving onto the dial and hands, I’ve got to say I quite like the sunburst effect of the dial. While I’m not crazy about open hearts, I definitely see how it would appeal to someone building their very first watch. The dial was fairly simple to install, though there was a bit of play even when the dial feet were sat correctly. Before putting it all into the case, I steeled myself for the step that even the most experienced fear – handsetting.

Whether due to my incredible ability as a watchmaker, or the relative simplicity of these hands, I was able to set them with no issues whatsoever. I certainly left some room for improvement as I didn’t want to use up all my talent in one fell swoop, but hey – still better aligned than Ming x Massena Lab ¯\_(ツ)_/¯.
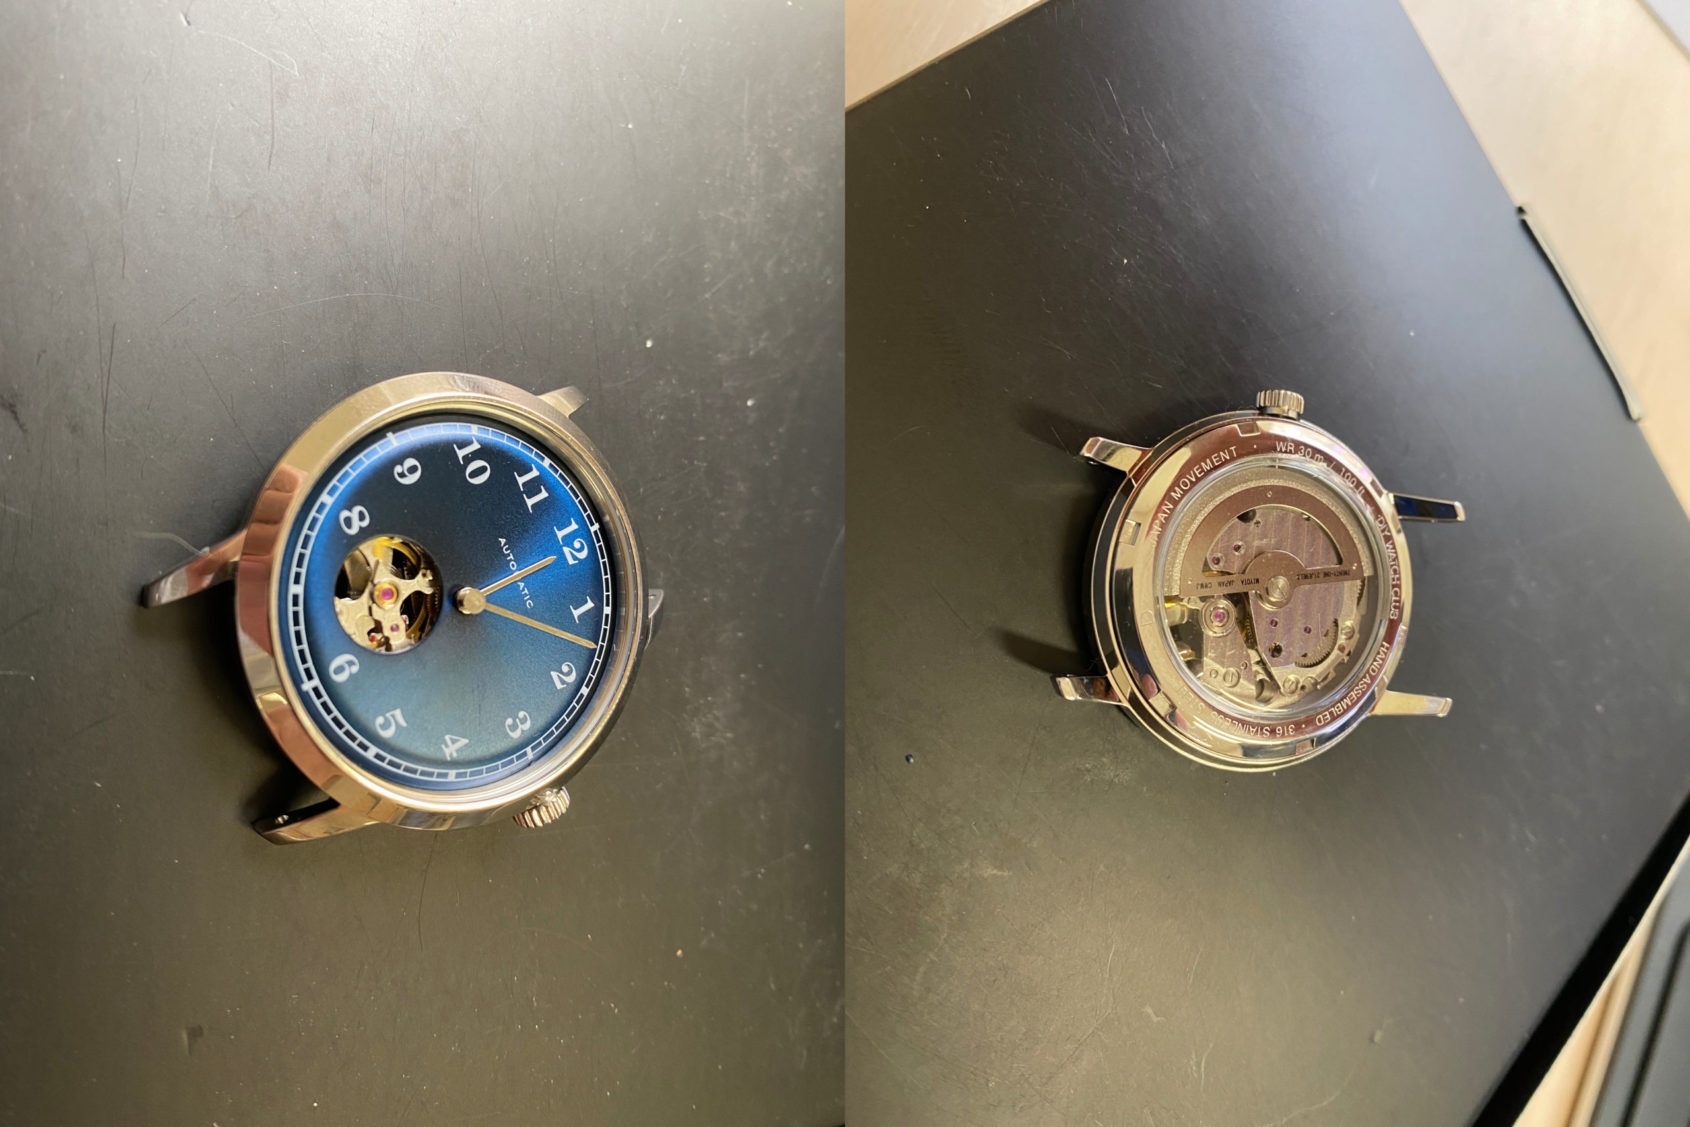
Putting the movement and dial into the case was simple enough, with the replacement crown the finishing touch once in place. Free from the shackles of its plastic crystal, I carefully flipped the watch over in order to screw in the caseback. The thread felt as if full of grains of sand, with its own plastic crystal spinning in place, though admittedly not falling out.
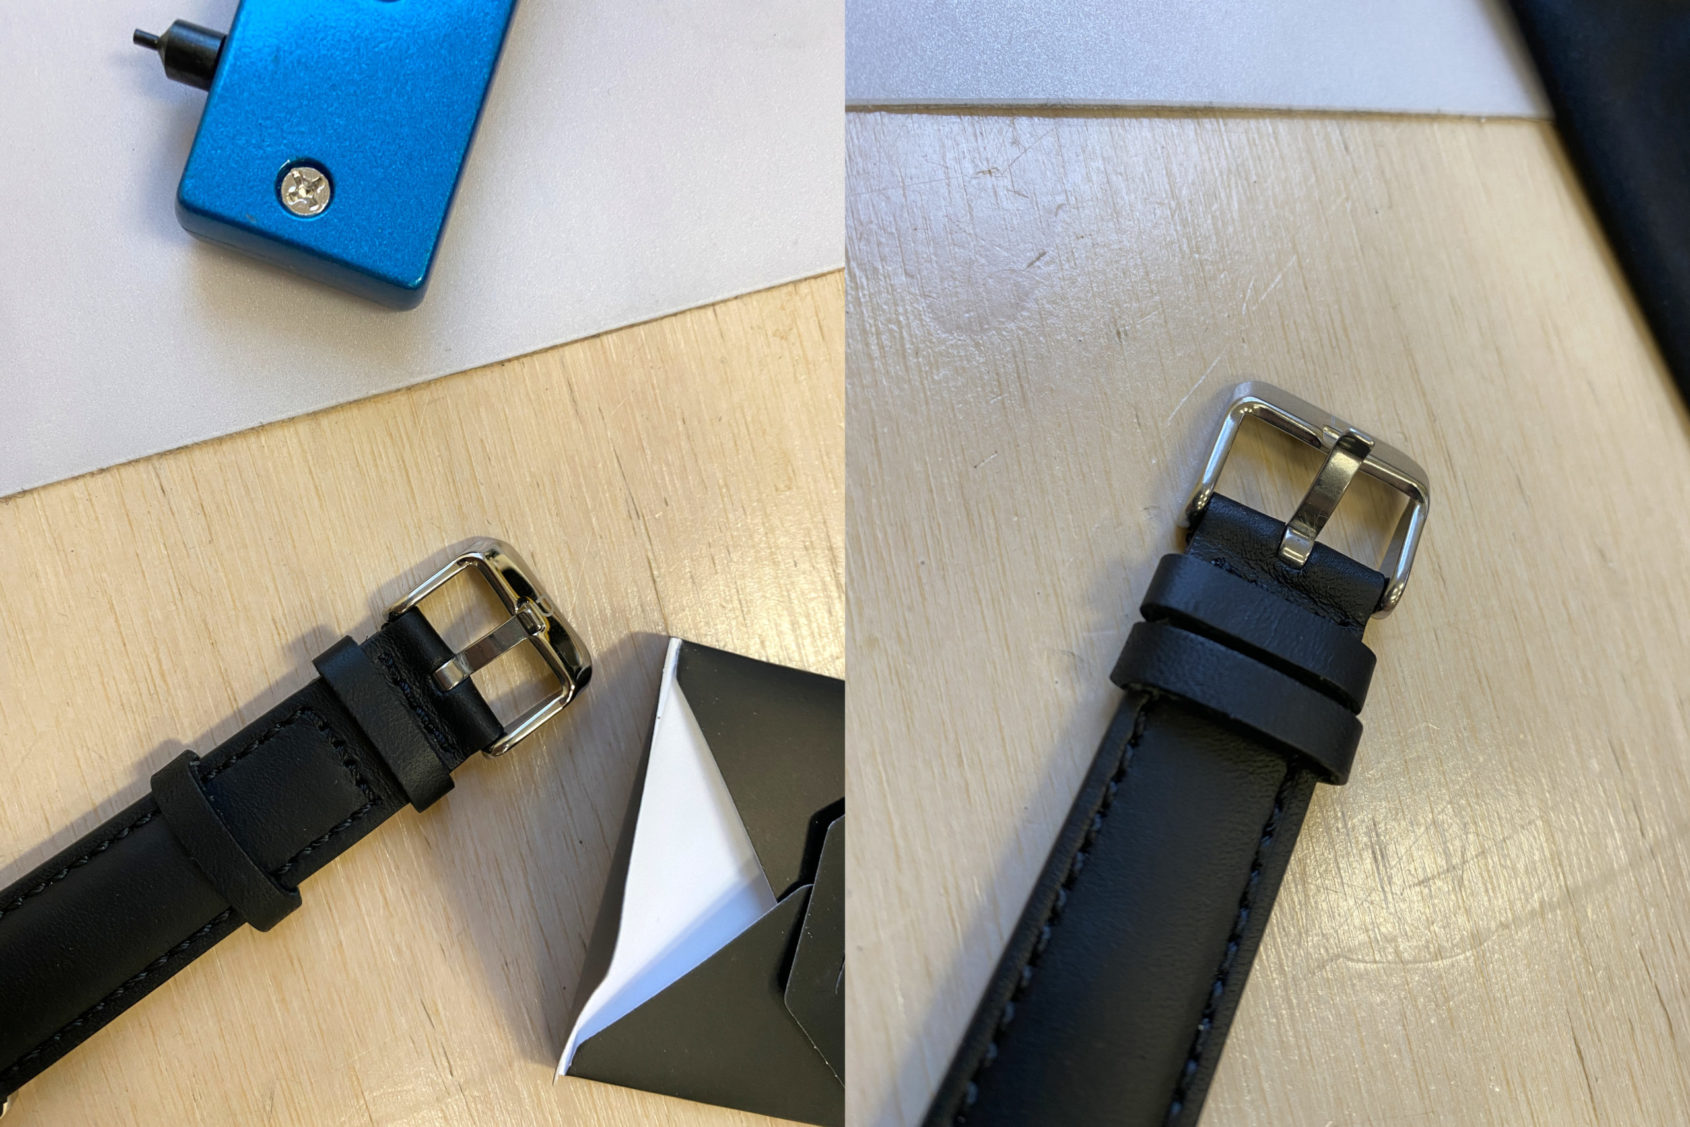
Not only was the strap the finishing touch for the completion of this project, it was also the cherry on top for the shoddiness of the overall quality. Quick-release spring bars I could certainly appreciate, but I could only laugh at the backwards-fitted tang.
The verdict
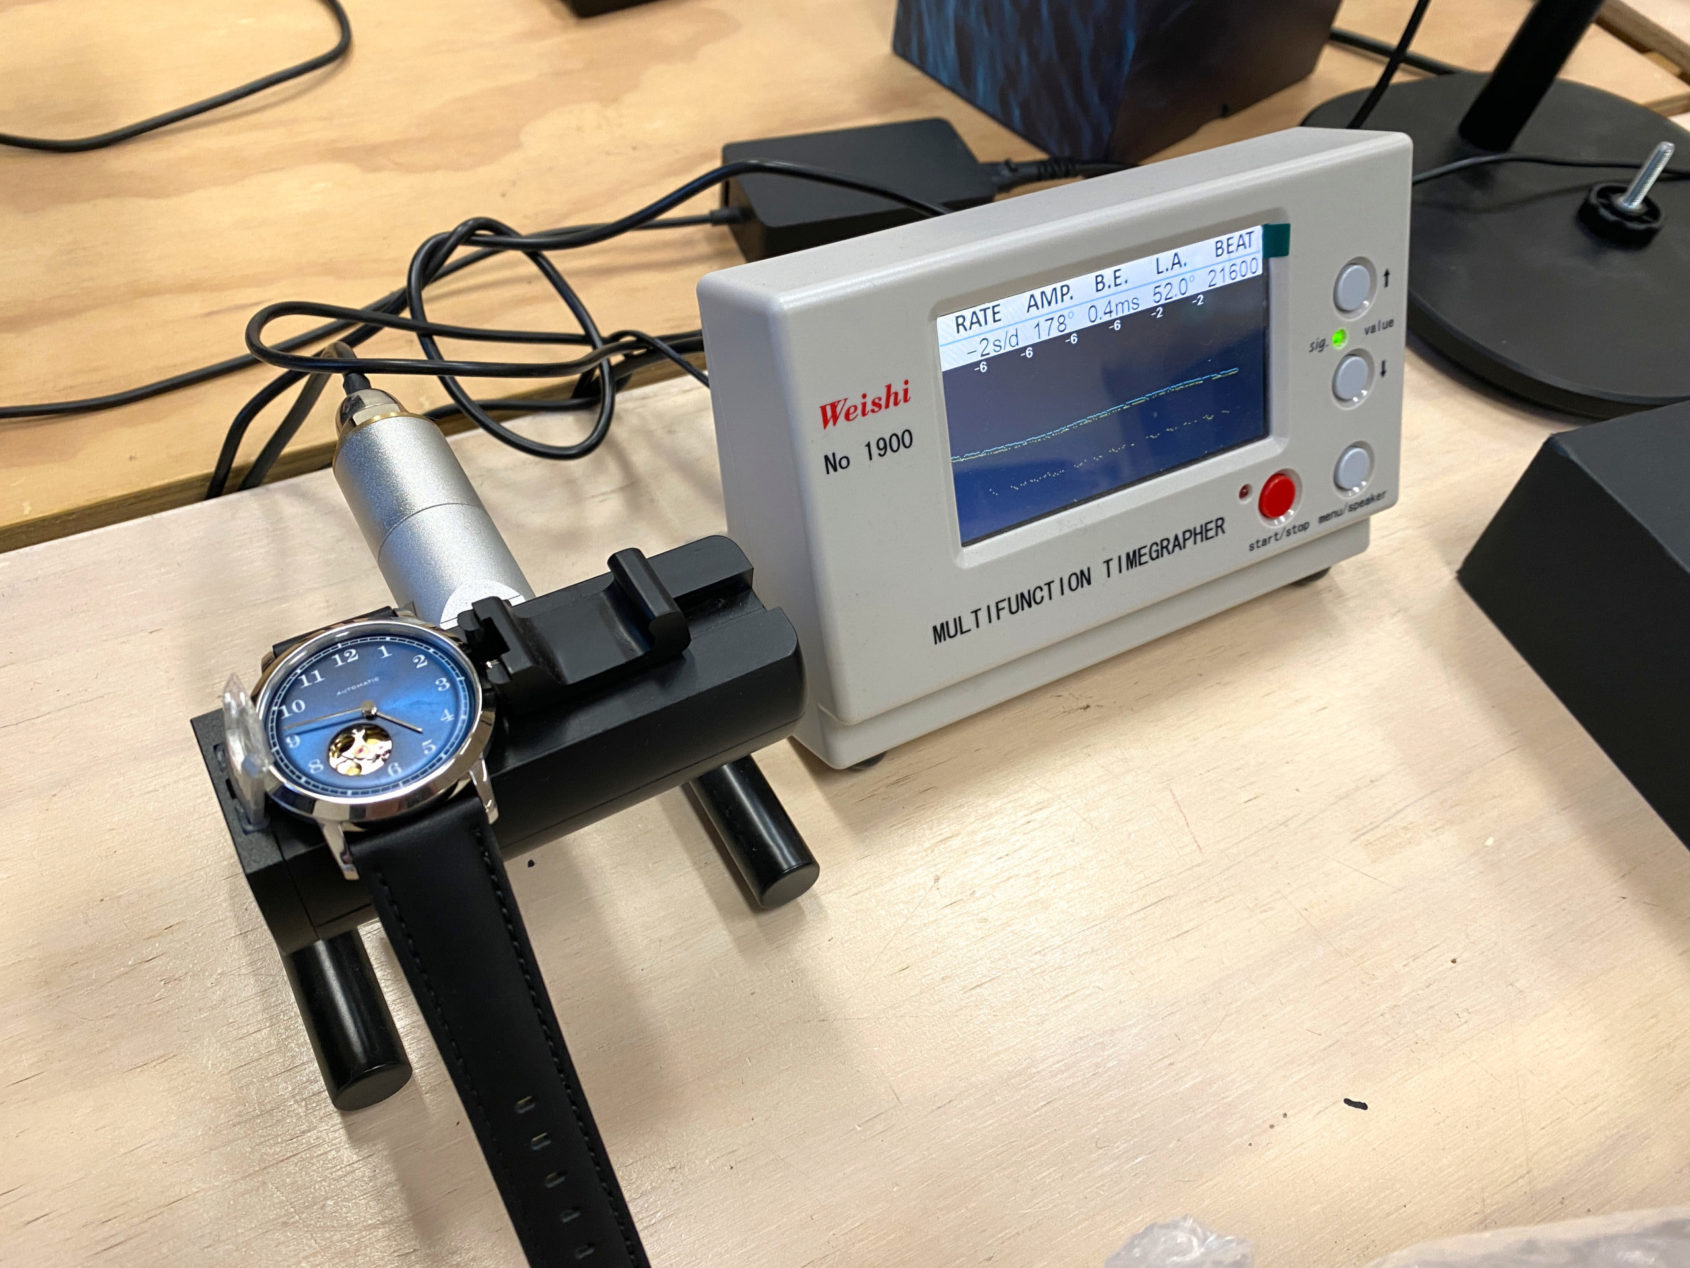
Currently listed for A$300, it’s not that expensive and it solves a big headache when it comes to buying your own components, as everything fits together. Having said that, given the lacklustre experience of putting it together and the somewhat uninspiring design once complete, I’d still go the proper DIY route, where you scour the internet for parts that you hope will work, only to realise you forgot to order an extra few pieces, putting the project off for even longer. Such is the way of the enthusiast. If all of this still hasn’t discouraged you, there’s an amazing redeeming feature of this little Miyota-powered lemon. Disregarding the abysmal amplitude and beat error (yes, I should’ve set the lift angle to 49 degrees, but it doesn’t matter that much), it runs at -2 seconds per day – that’s COSC baby.