


The DIY Series: How to make your own watch (Pt 1)
Fergus NashWatch enthusiasts are absolutely spoiled for choice at the moment, with microbrands and big brand budget options just getting better all the time. There’s never been a more competitive time in the watch world, with pretty much every kind of watch you can imagine currently being made. That said, if you’ve got a hankering so specific that nobody else can fill it, sometimes you have to just make it yourself. Later in this series we’ll go over how you can modify your watch and even collaborate with manufacturers to build the watch of your dreams, but today we’re going to help you assemble one from parts.
Step 1: Make a mood board

The eagerness to start buying parts and browse vendors is a powerful force, but patience is definitely worth having in the concept stages of your first DIY watch. Designers and makers from all industries will testify to the importance of a mood board, which is simply a collection of images which inspire you. It may be watches that you already love, a photo of scenery, or anything that captures the emotion you want to feel whenever you check the time. This will help focus your strategy when it comes to buying parts, and you may even discover some things that you weren’t aware you wanted. If you have any skill in Photoshop, you can also try mocking up different components or colours to see what works.
Step 2: Buy some tools
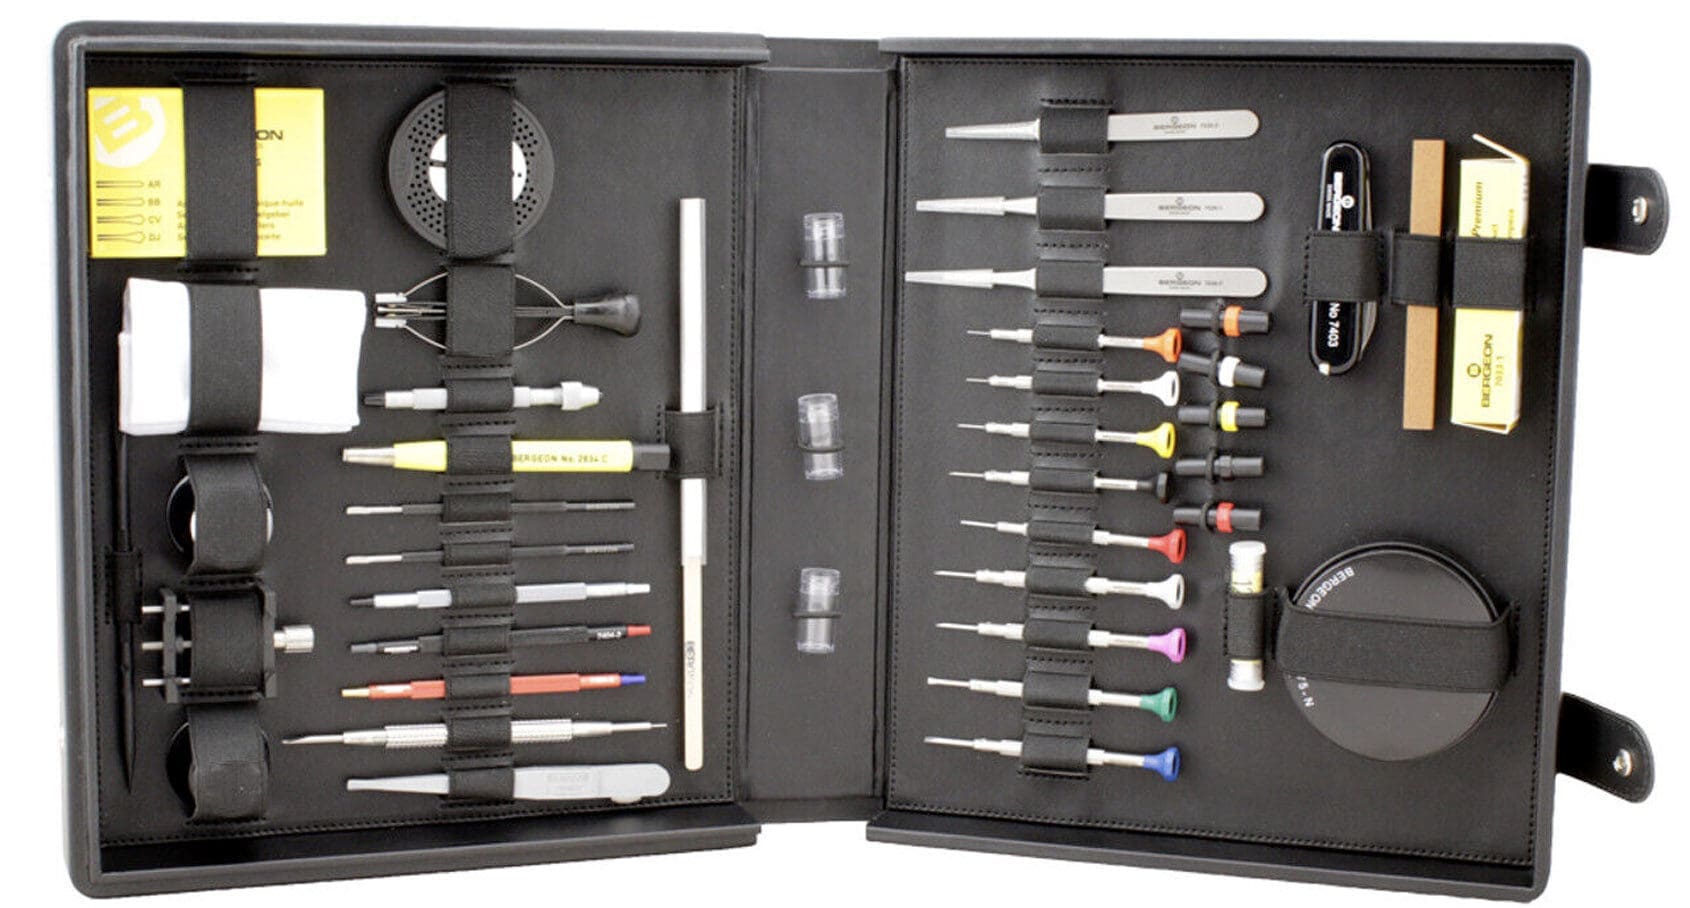
If you’re already DIY handy then you’ve probably got a strap tool and some miniature screwdrivers lying around, but assembling watch parts does require a fair amount of specialty equipment that you will struggle without. Some of these will include grips or a case knife to open and tighten a caseback, a movement or case holder, tweezers, gasket grease, and many more. There are some kits available for less than $20 which will include almost everything you need and will do the job fine, however they will not be very durable in the long term if you want to make more watches or attempt your own servicing. If you have plenty of money to invest in this project, you can also buy Swiss tools from reputed companies such as Bergeon.
Step 3: Choose your movement
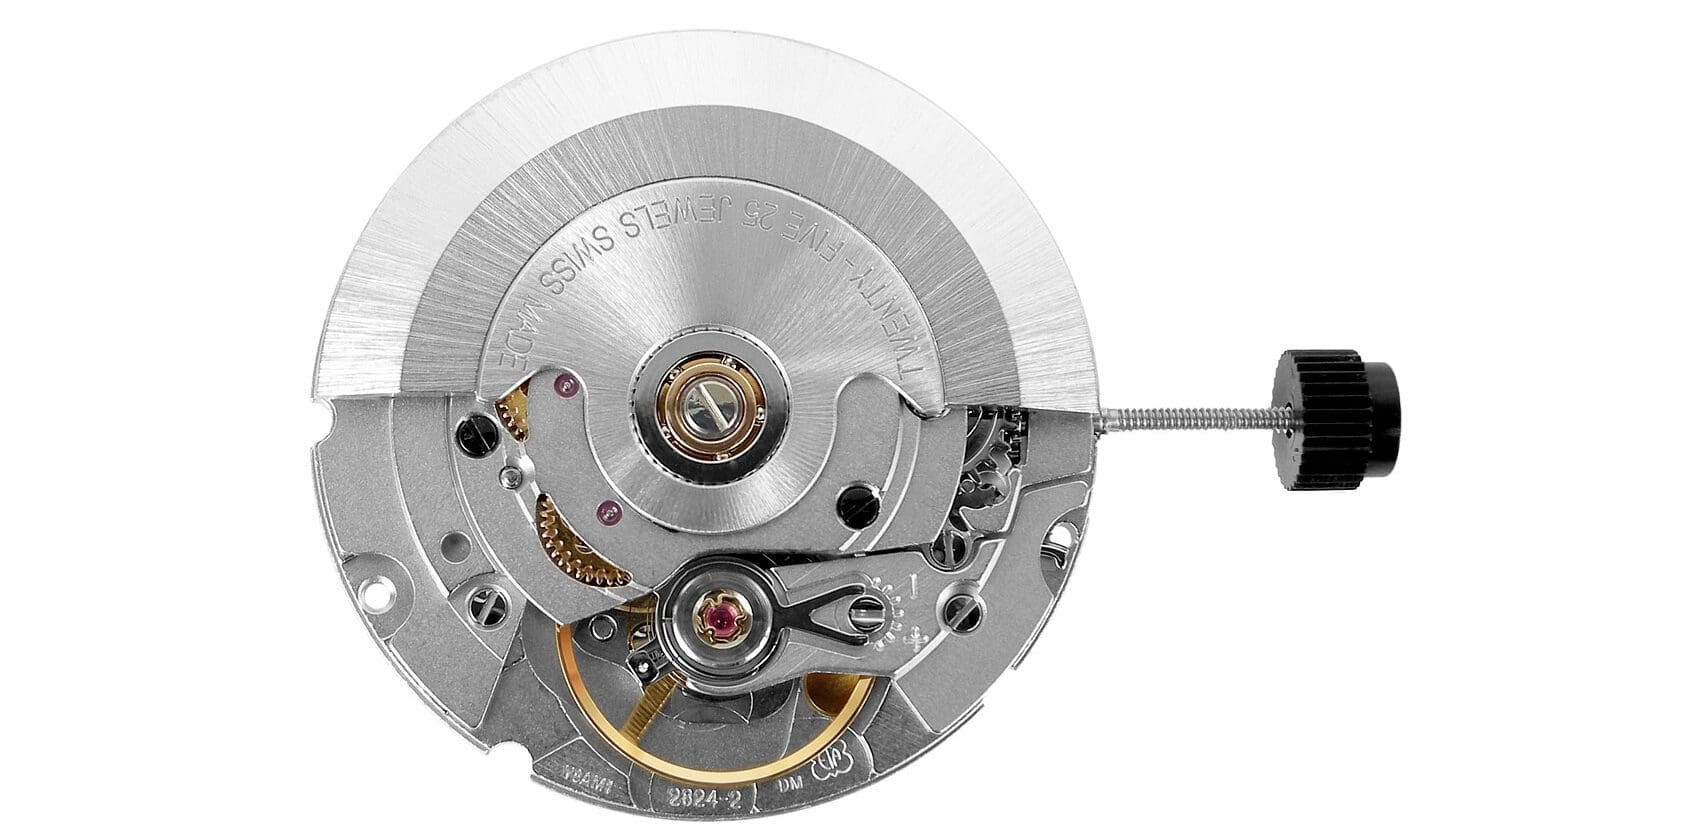
In order to make sure that everything you buy will be compatible, your choice of movement is the basis for all of your future decisions. Cases, dials, hands, and other parts are all designed to work specifically with certain movements and often won’t fit other ones unless they’re exact clones. If you’re looking to be budget-conscious, something like the Seiko NH35 is an easy choice. Not only is it a well-performing movement that’s easy to adjust, but it’s probably had more aftermarket parts made to fit it than any other calibre. If you want something a little higher end, an ETA 2824 or 7750 are also popular choices, and it opens up the option of buying vintage non-running Swiss watches for their cases and dials.
Step 4: Go shopping!
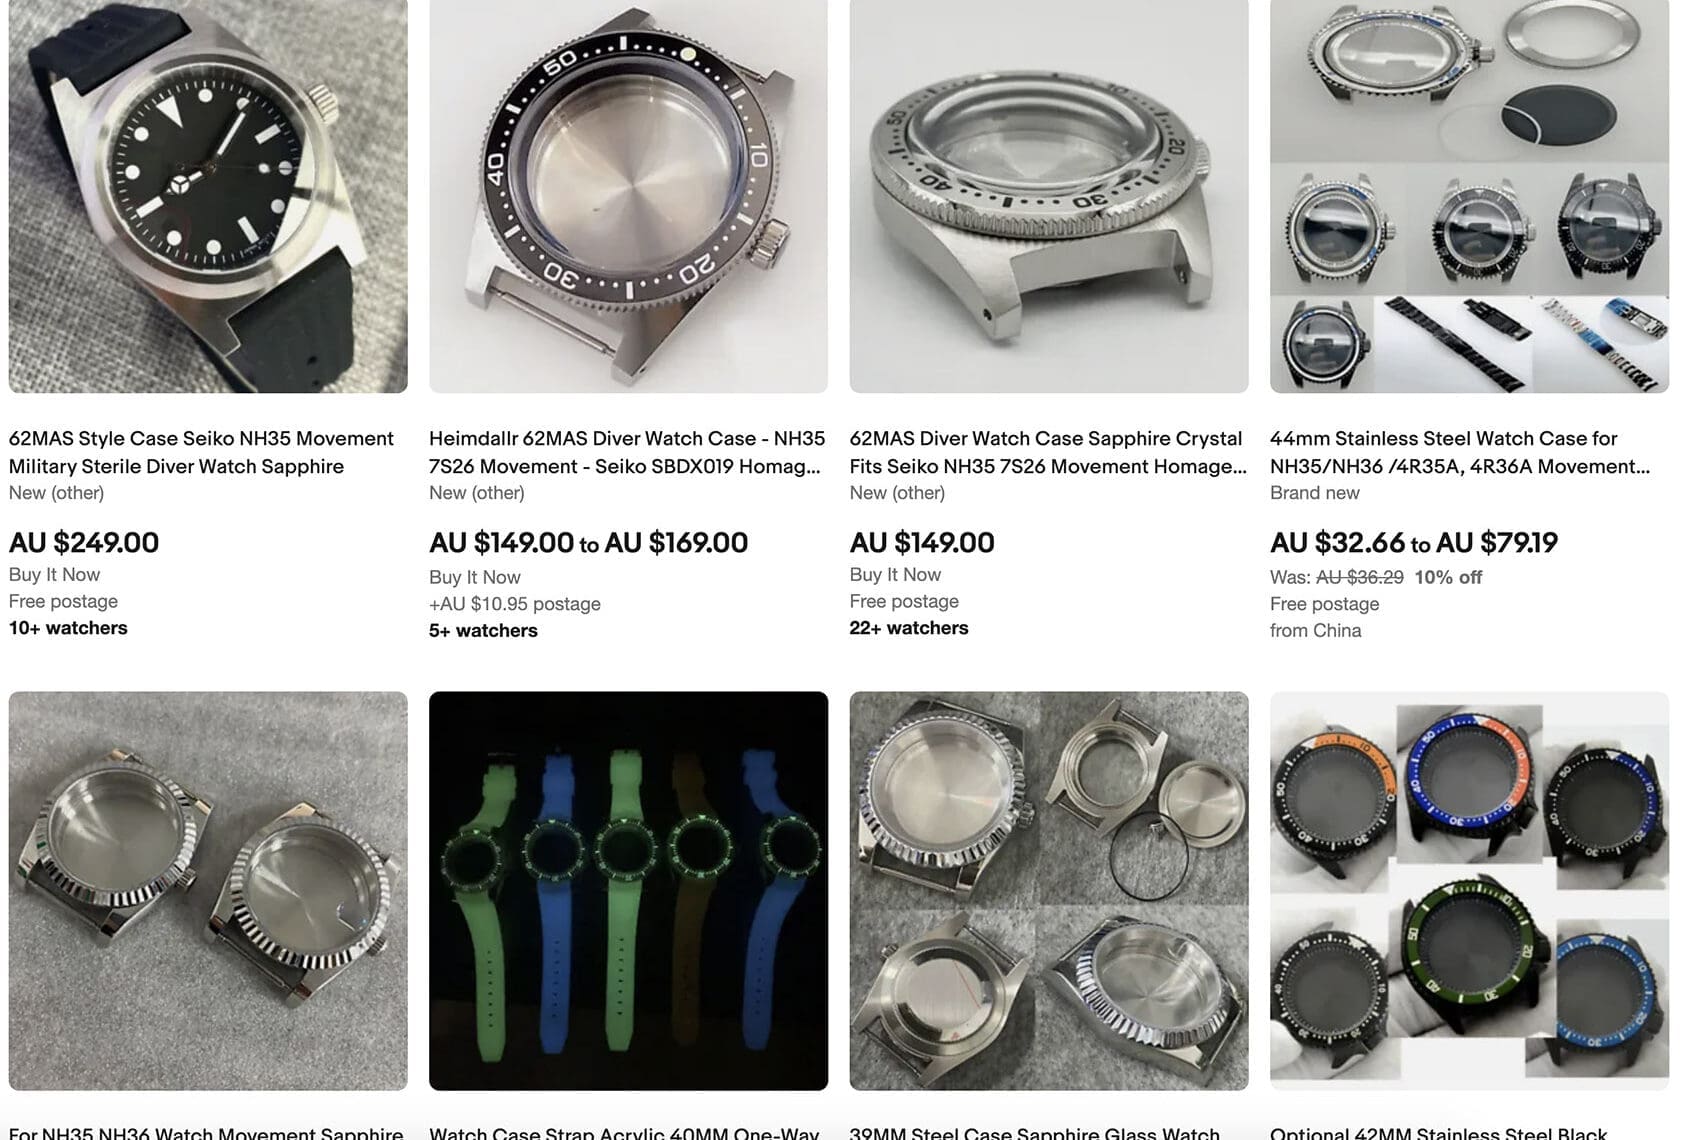
Now that you’ve got everything you need, you can finally have some fun. eBay and Aliexpress are fantastic websites for browsing watch build components, and all you need to do is search for whatever part you want followed by the movement you’ve chosen. The most immediate results will likely be homages of popular styles from Rolex and Omega, but if you dig a little deeper you’ll soon find other alternatives. Remember to consider things like the location of date windows on dials, because you may need to buy a different date wheel if it’s at 6 o’clock for example. Other things to note are the length of the hands if you’d like them to hit the dial markers, and the water resistance rating of the case.
Step 5: Preparation
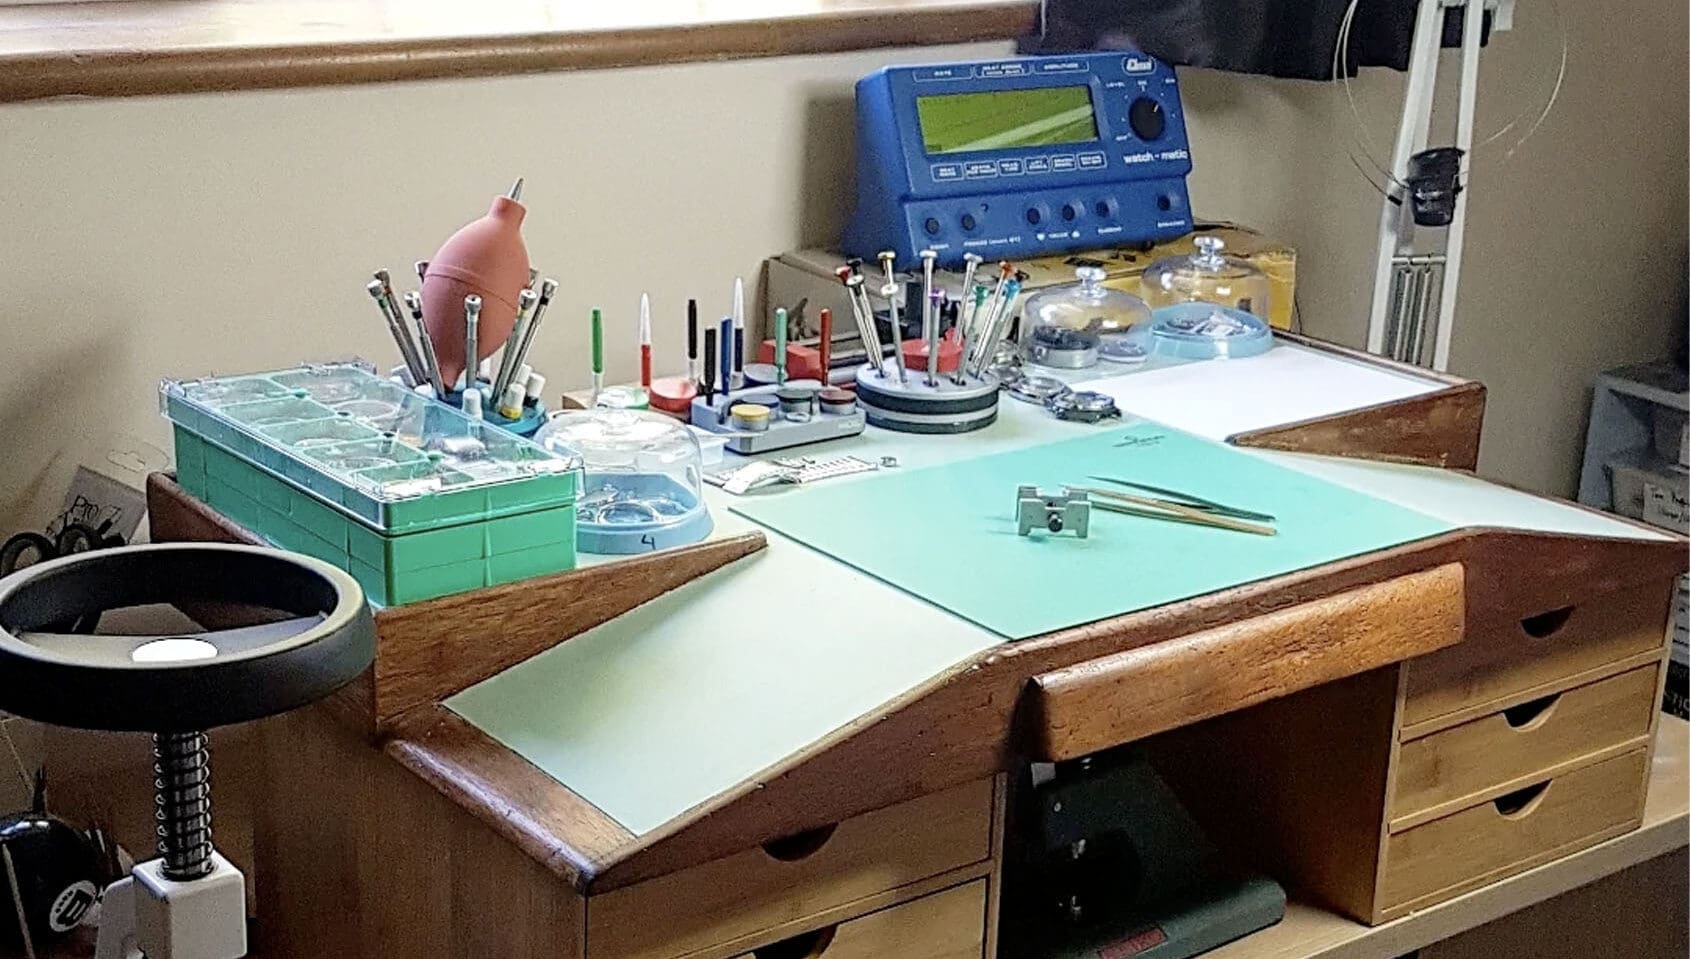
Before you start throwing things together, ensure you have a clean and tidy workspace with good lighting. When you’re working with parts that are this small, accidentally brushing a screw off your desk can be devastating, so lay your purchases out somewhere they won’t get flung into oblivion. If you have any further customisation you’d like to do, such as staining the luminous sections with coffee to age it, or painting something unique on the dial, this would be the time to do it, ensuring that everything is completely dry before you seal it in a waterproof case. You should also take some time to watch at least a few YouTube videos of people assembling watches, ideally with the same movement, so that you can get a good understanding of how everything fits together and in what order. If you purchased a timegrapher such as the Weishi 1000, it’s a good idea to check the movement’s accuracy and adjust the balance before putting it in the watch build as well as after.
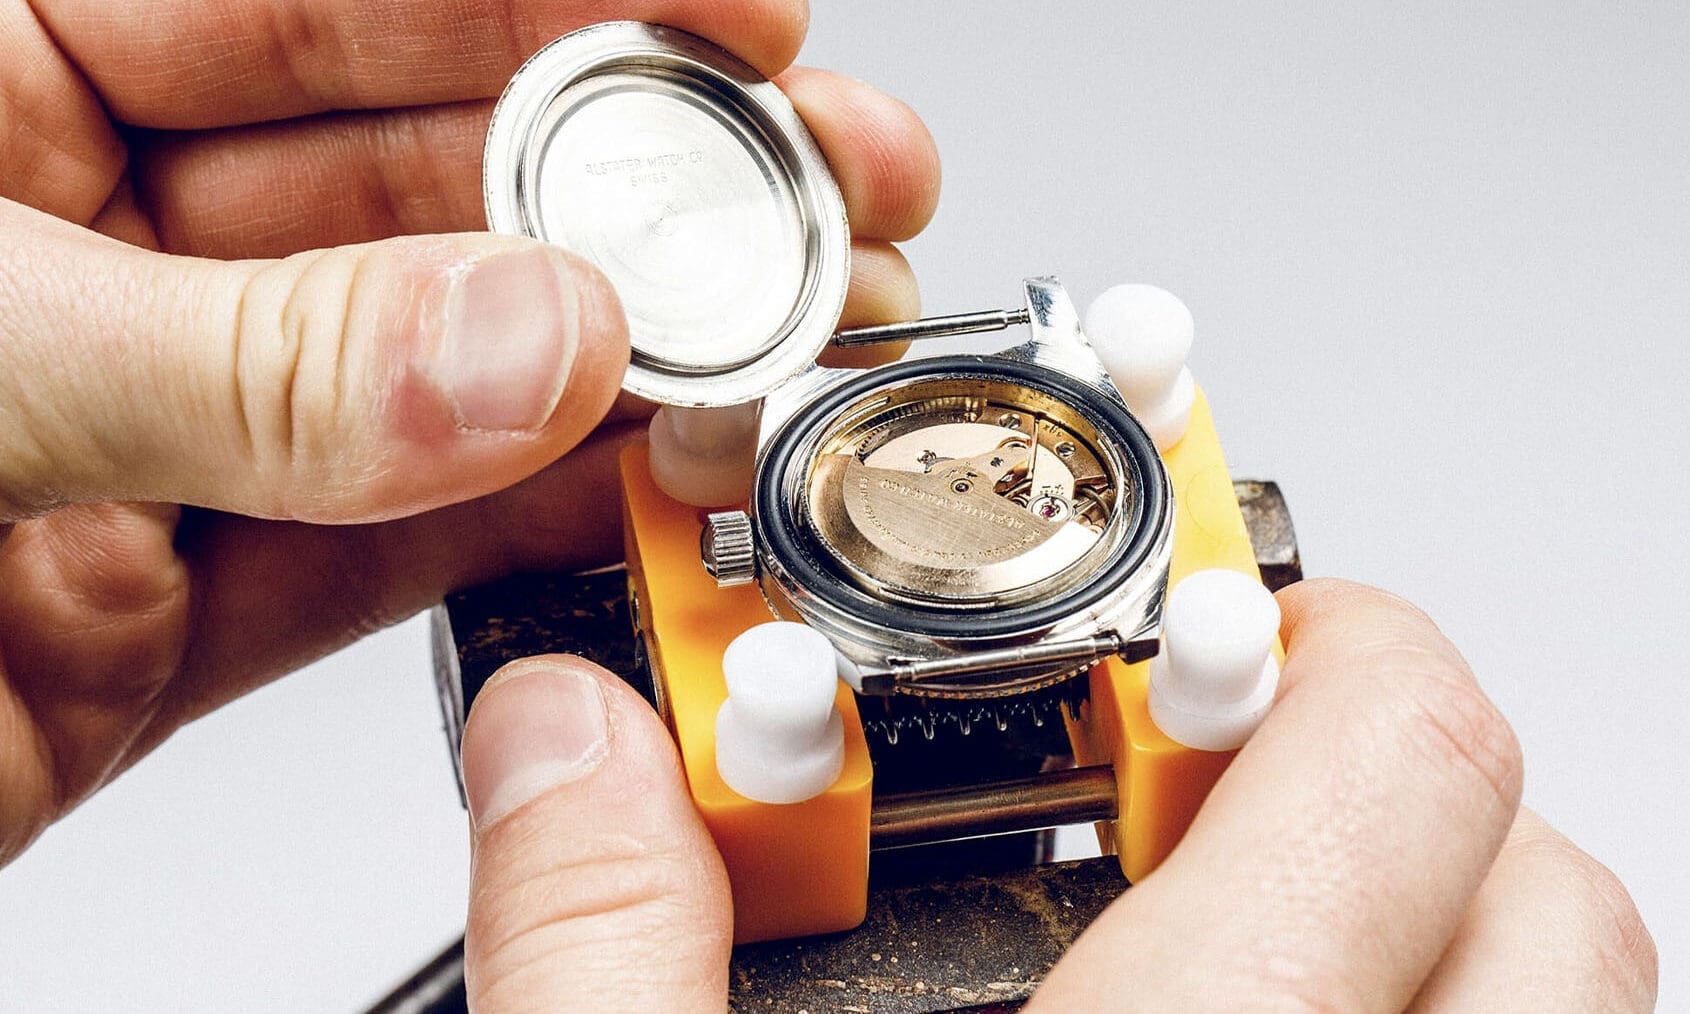
Step 6: Assembly
The time has come for the final step, and all that remains between you and your dream watch build is a few friction fits and screws. If you’ve done your homework with the YouTube videos, you’ll know that this part of the build is really very simple in theory, and only becomes tricky due to the size of the parts. Using gloves isn’t necessary but it is a good idea, and make sure that they’re powder-free. Check your progress every step of the way to avoid having to undo your progress, for example making sure that the hands can pass over each other without touching and that the crown sits flush with the case after you’ve measured and cut the stem. Once everything is assembled, congratulations! Clean it gently with a microfibre cloth and strap it to your wrist with whatever your favourite strap or bracelet may be. If you discover down the line that you may have preferred a no-date dial, or maybe the colour of the hands is slightly off, at least you also now know how to change them.